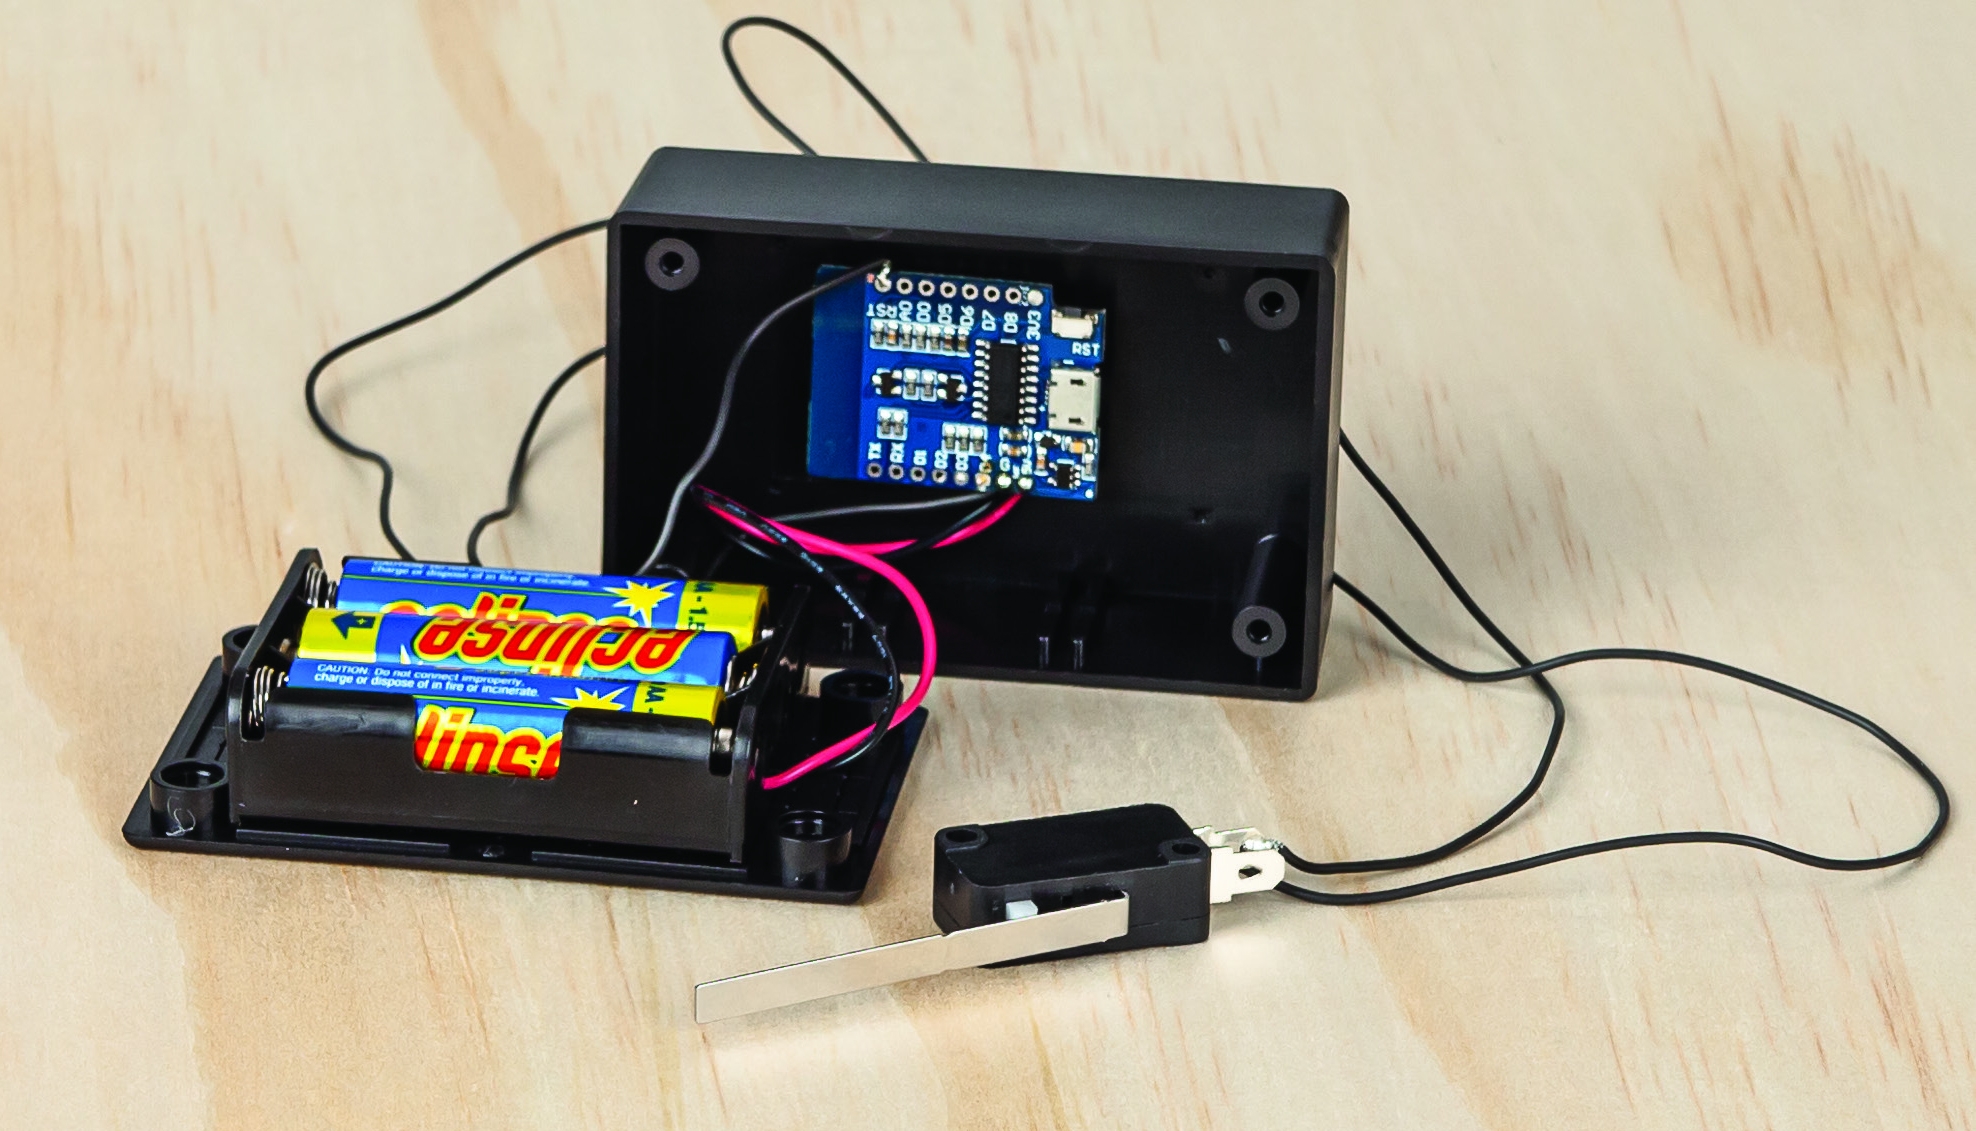
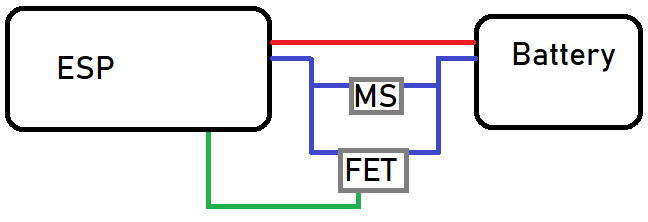
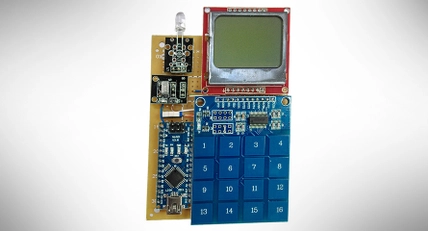
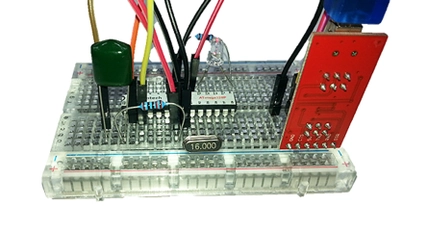
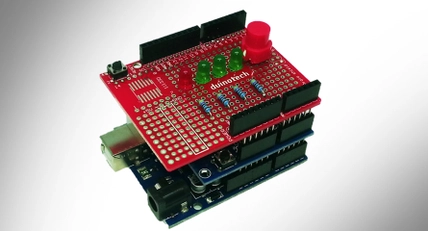
With assembling, it is important to remember that the ESP must be within range of your WiFi, and might not be able to get any signal when it is within your metal letterbox. We are using 8m of light duty silicone wire so that we can seperate the switch from the esp and atleast try to get the ESP 4 meters closer to the house WiFi. Results may vary, so play around and send us a picture of what you've created.
Battery Holder on lid
The battery holder is the easiest to do. 3 AA batteries at 1.2V is just 3.6v which is perfect for our ESP8266
Use some hot glue, blu-tack, double-sided tape () or otherwise to stick the batttery box to the lid of the enclosure.
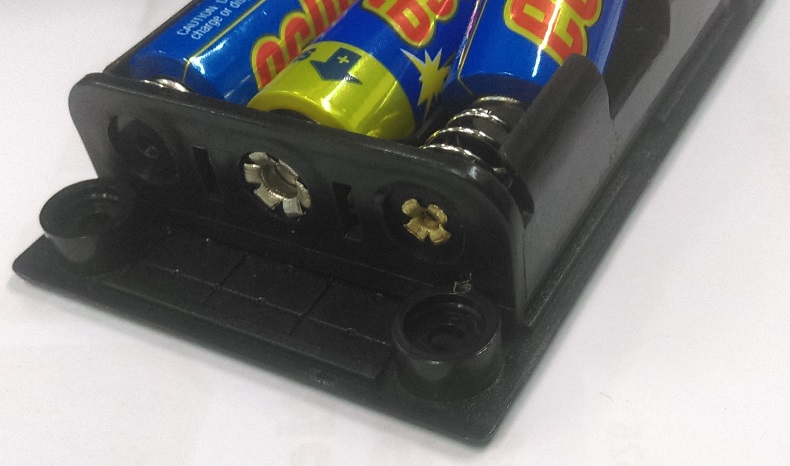
It should fit pretty snug just behind the screw portals.
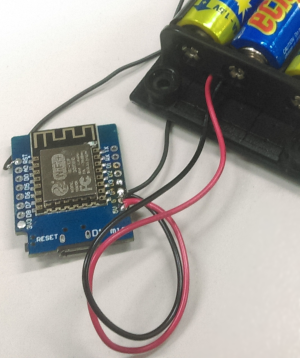
Once the glue has set, you can solder the positive (red) lead to the ESP8266's 5V pin and the negative (black) lead to the ESP8266's GND pin
Microswitch to ESP
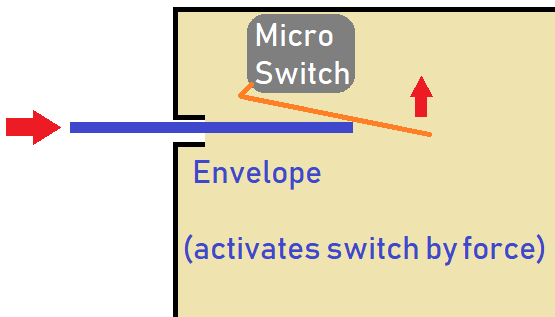
As expected from when we were prototyping the design, the microswitch just connects between GND and RESET
The microswitch is nothing spectacular, it has 3 connections:
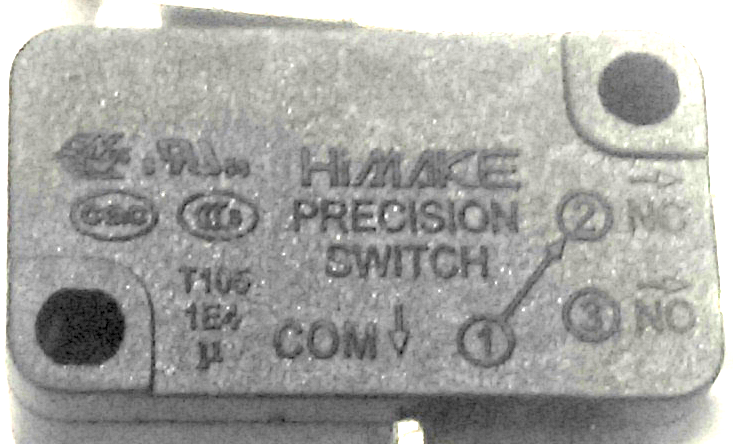
We want GND and RESET to be normally OPEN, so that when the switch is press, it will CLOSE the connection, and reset the ESP:
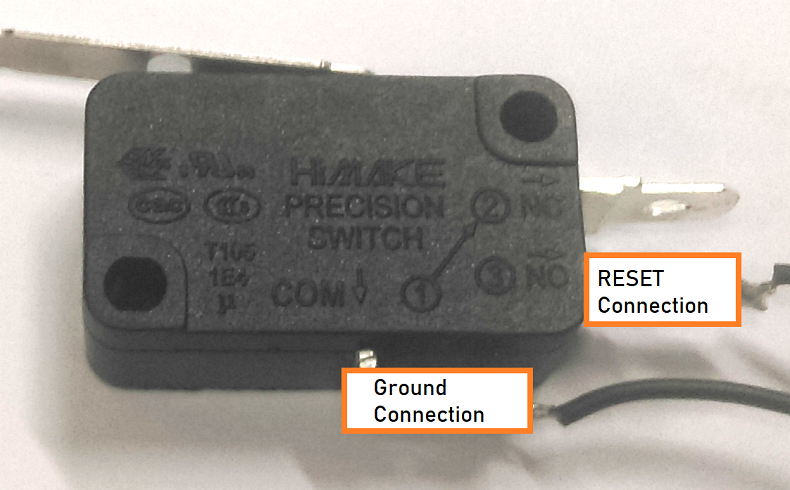
Cut a decent length of your silicone wire and then cut in half again (or just cut the whole thing in half for the whole 4 meters); you will need two lengths of the same distance to reach between the switch and your ESP.
Connect as follows, using one length of black wire each:
|
|
|---|
Microswitch COM terminal | ESP8266's GND pin |
Microswitch NO terminal | ESP8266's RST pin |
Programming
The programming for this device is simple, once you have downloaded the code from the link at the top of this document, you can use the arduino IDE to upload the mailbox.ino code onto your {XC3802}. If you haven't done this before, be sure to read the manual on how to do so on the XC3802 product page.
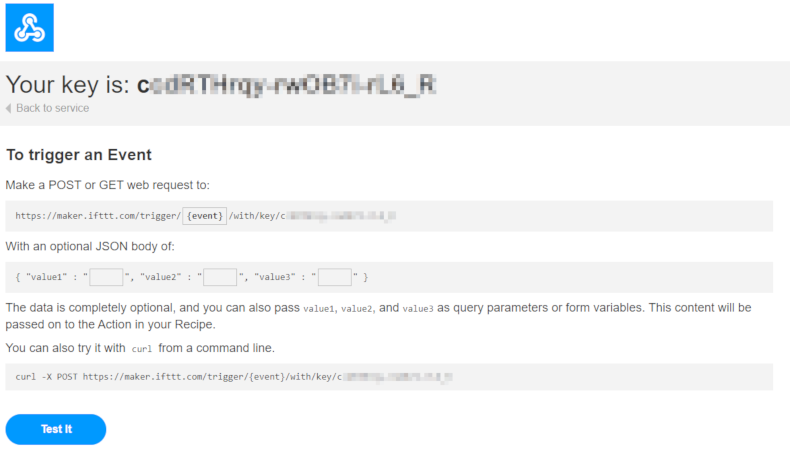
Make an IFTTT account if you have not already.
Get your maker_key from the Assembly instructions.
put in your wifi_ssid and wifi_pass into the code, along with your maker_key (Keep the TRIGGER_NAME to be the same)
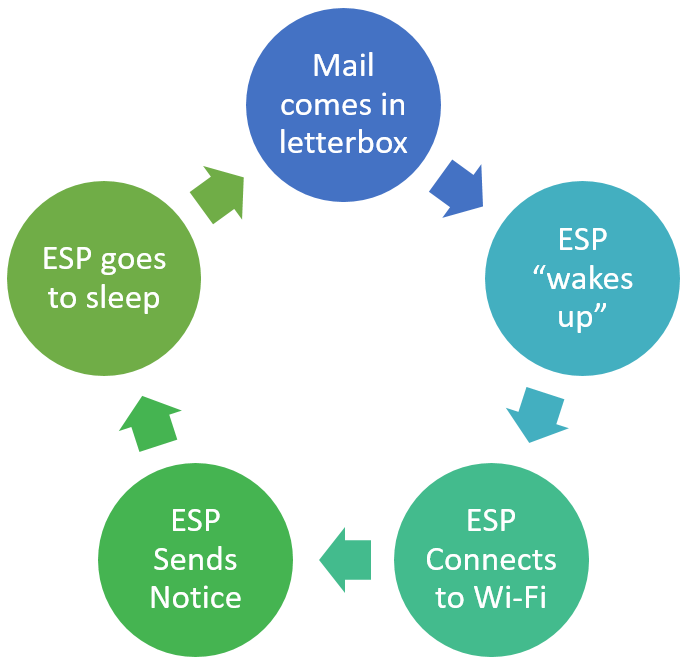
You should be able to find that every time you turn the ESP on (ie: connect it to computer or to batteries) you will get a notice on your phone.
It is a little annoying when programming to always get notifications from the device right infront of you, but most of the debugging is done, so you should be able to just confirm that it works as intended, then go place it in your mailbox.
Closing the lid
Once the microbit's all soldered up and programmed, you can use some double sided tape or hot glue to glue it into the enclosure, and close the lid, with the switch leads coming out from one of the sides.
It's not strictly waterproof but should do ok in sheltered environments. if you need more waterproofing you might best put it in a sandwich bag or otherwise. The outside environment is tough, so keep that in mind.
