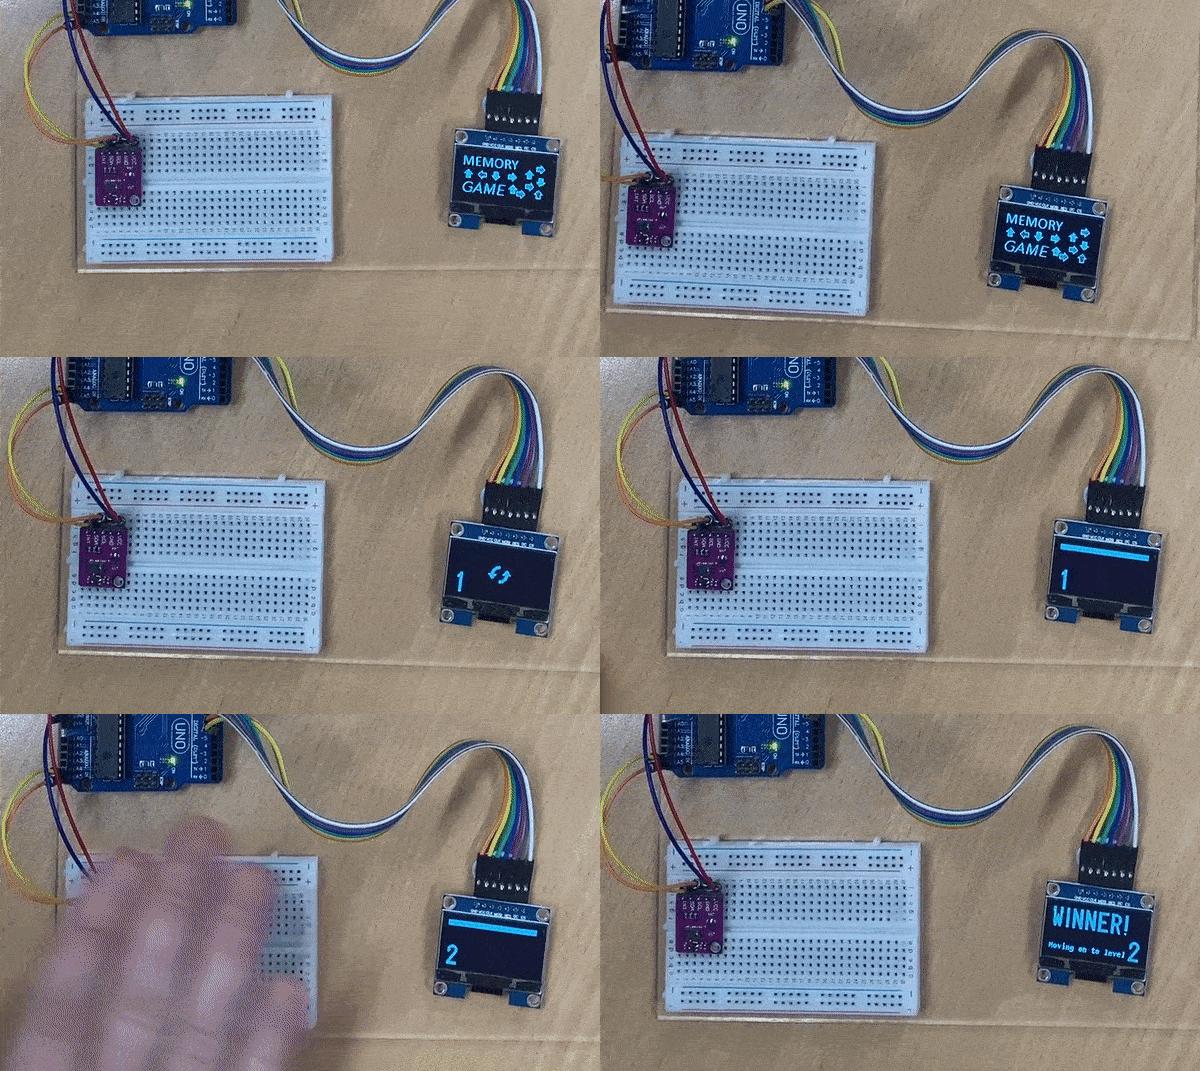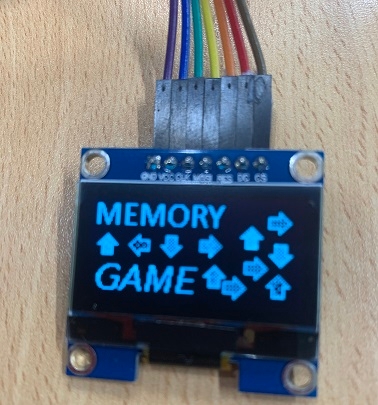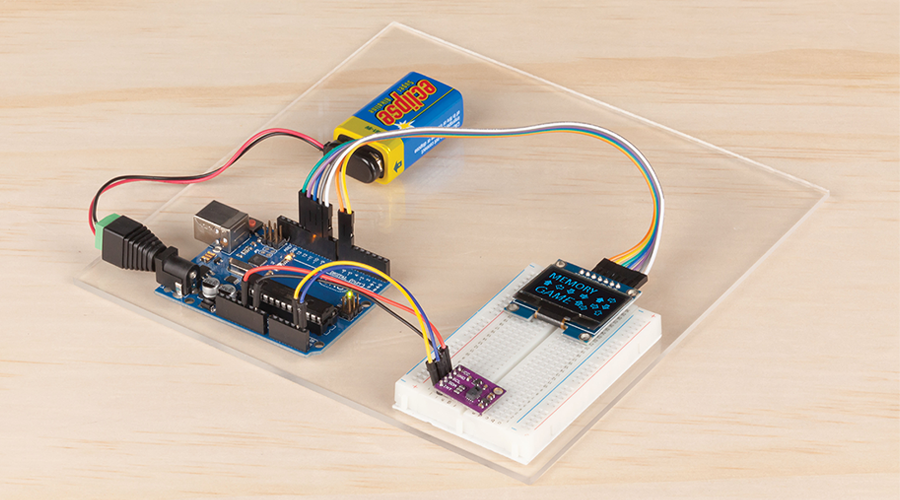
The first step is to download and install the Arduino Integrated Development Environment (IDE) from the official website. Arduino IDE is a software platform that allows you to write and upload code to the Arduino board.
Next, you will need to download the project resources from the top of this page. These resources include the code and other files required for the hand gesture game. Once you have downloaded the files, you will need to unzip them.
Inside the unzipped files, there is a "memory" folder that contains the main code file for the hand gesture game. Open the "memory" file using Arduino IDE.
The OLED display is a component that will be used in the hand gesture game. You will need to download the appropriate library for the OLED display to be able to use it with the Arduino board. There are several OLED libraries available, but we recommend using “U8g2” for this project. You can download this.
Library in Arduino IDE via the Library Manager (Sketch > Include Library > Manage Libraries) The gesture sensor library is already included in the project resources folder, so you don't need to worry about downloading it separately.
Before you can upload the code to the Arduino board, you need to make sure that the correct board and port are selected in the Arduino IDE. To do this, go to the "Tools" menu in Arduino IDE and select the appropriate board and port.
Once the board and port are selected, you can click on the "Verify" button in the Arduino IDE to check if the code is correct. If there are no errors, you can then click on the "Upload" button to upload the code to the board.
Congratulations! You have now successfully created your very own hand gesture game. You can now play the game by following the instructions provided with the game.
Adding new levels
Adding more levels is easy; it's all added into the levels.h file
1. Make new level array following the same pattern as the others:
// this must be const, this must have a unique name (such as "level3" )
// and it must have PROGMEM before the equal sign to store it in flash
const uint8_t level3[] PROGMEM = {
GES_RIGHT_FLAG, //these are defined in paj7620.h, link them
GES_LEFT_FLAG,
GES_UP_FLAG,
GES_LEFT_FLAG,
GES_UP_FLAG,
GES_CLOCKWISE_FLAG,
FINISHED}; //you must end it with FINISHED, or a null byte
2. Reference your level in the global level table:
The position of the level will indicate how fast it goes; further down the list will be faster.
const uint8_t *const levels[TOTAL_LEVELS] PROGMEM = {
level1,
level2,
level3,
/* TODO, your level here */
level4,
level5};
3. Increment the TOTAL_LEVELS counter at the top of the levels.h
This will allow all levels to be referenced
//at the top of the file
#include "paj7620.h"
#define FINISHED 0
#define TOTAL_LEVELS 5 //increase this to be the number of levels in the levels array
Changing the title screen
Use the instructions from our Shake the present project to generate a new title screen.